christmas decor tour / bobette's winter wonderland

i know, i know. many of the things i blog about are things that my awesome mom has done. maybe i'm just trying to ride her coattails, whatever. her stuff is amazing and needs to be shared. i have invited her to just partner with me on the blog and write her own posts, but she is too lazy/technologically-challenged/proud to do so. so i'm going to continue sharing her projects.

her christmas decor this year has a super fresh and organic feeling with lots of metallics and greenery. Enjoy!

entertaining / a very merry christmas

we are back in California, and it finally feels like christmas. rather than an outdoor winter wonderland (aka misery), we have an indoor one. and it has been quite warm in temecula. i am so happy to not live in the cold, hopefully for good! my mom's decorating is always the best, and somehow gets better every year. it's so fun to see all of the creative things she comes up with. my favorites- the magnolia branch in the vase on the fireplace, the ornament garland that she made that lies on top of the mantle, the silhouette gift wrap, and the ombre pink christmas tree. to die for.

IMG_6672.jpg
IMG_6673.jpg

the anatomy of a tablesetting / christmas

[this is the second part of bobette's table setting class, you can find the first part here]

Last month we talked about how to put your individual table settings together, and this month we are going to talk about how to put your entire table together. (This guide was adapted from Nat Berkus' guide over at Elle Decor)

The Anatomy of Setting the Table.jpg

1. first things first you need to start with a blank slate/blank table. it will make your life so much easier

2. lay down a tablecloth. it doesn't always need to be a traditional tablecloth, you can use fabric, sheets, a shower curtain, a quilt or throw. anything that covers the table will work.

3. add a contrasting runner. again, this can be anything- wrapping paper, rugs, scarves, doilies, trays, mirrors, empty frames, wood planks. 

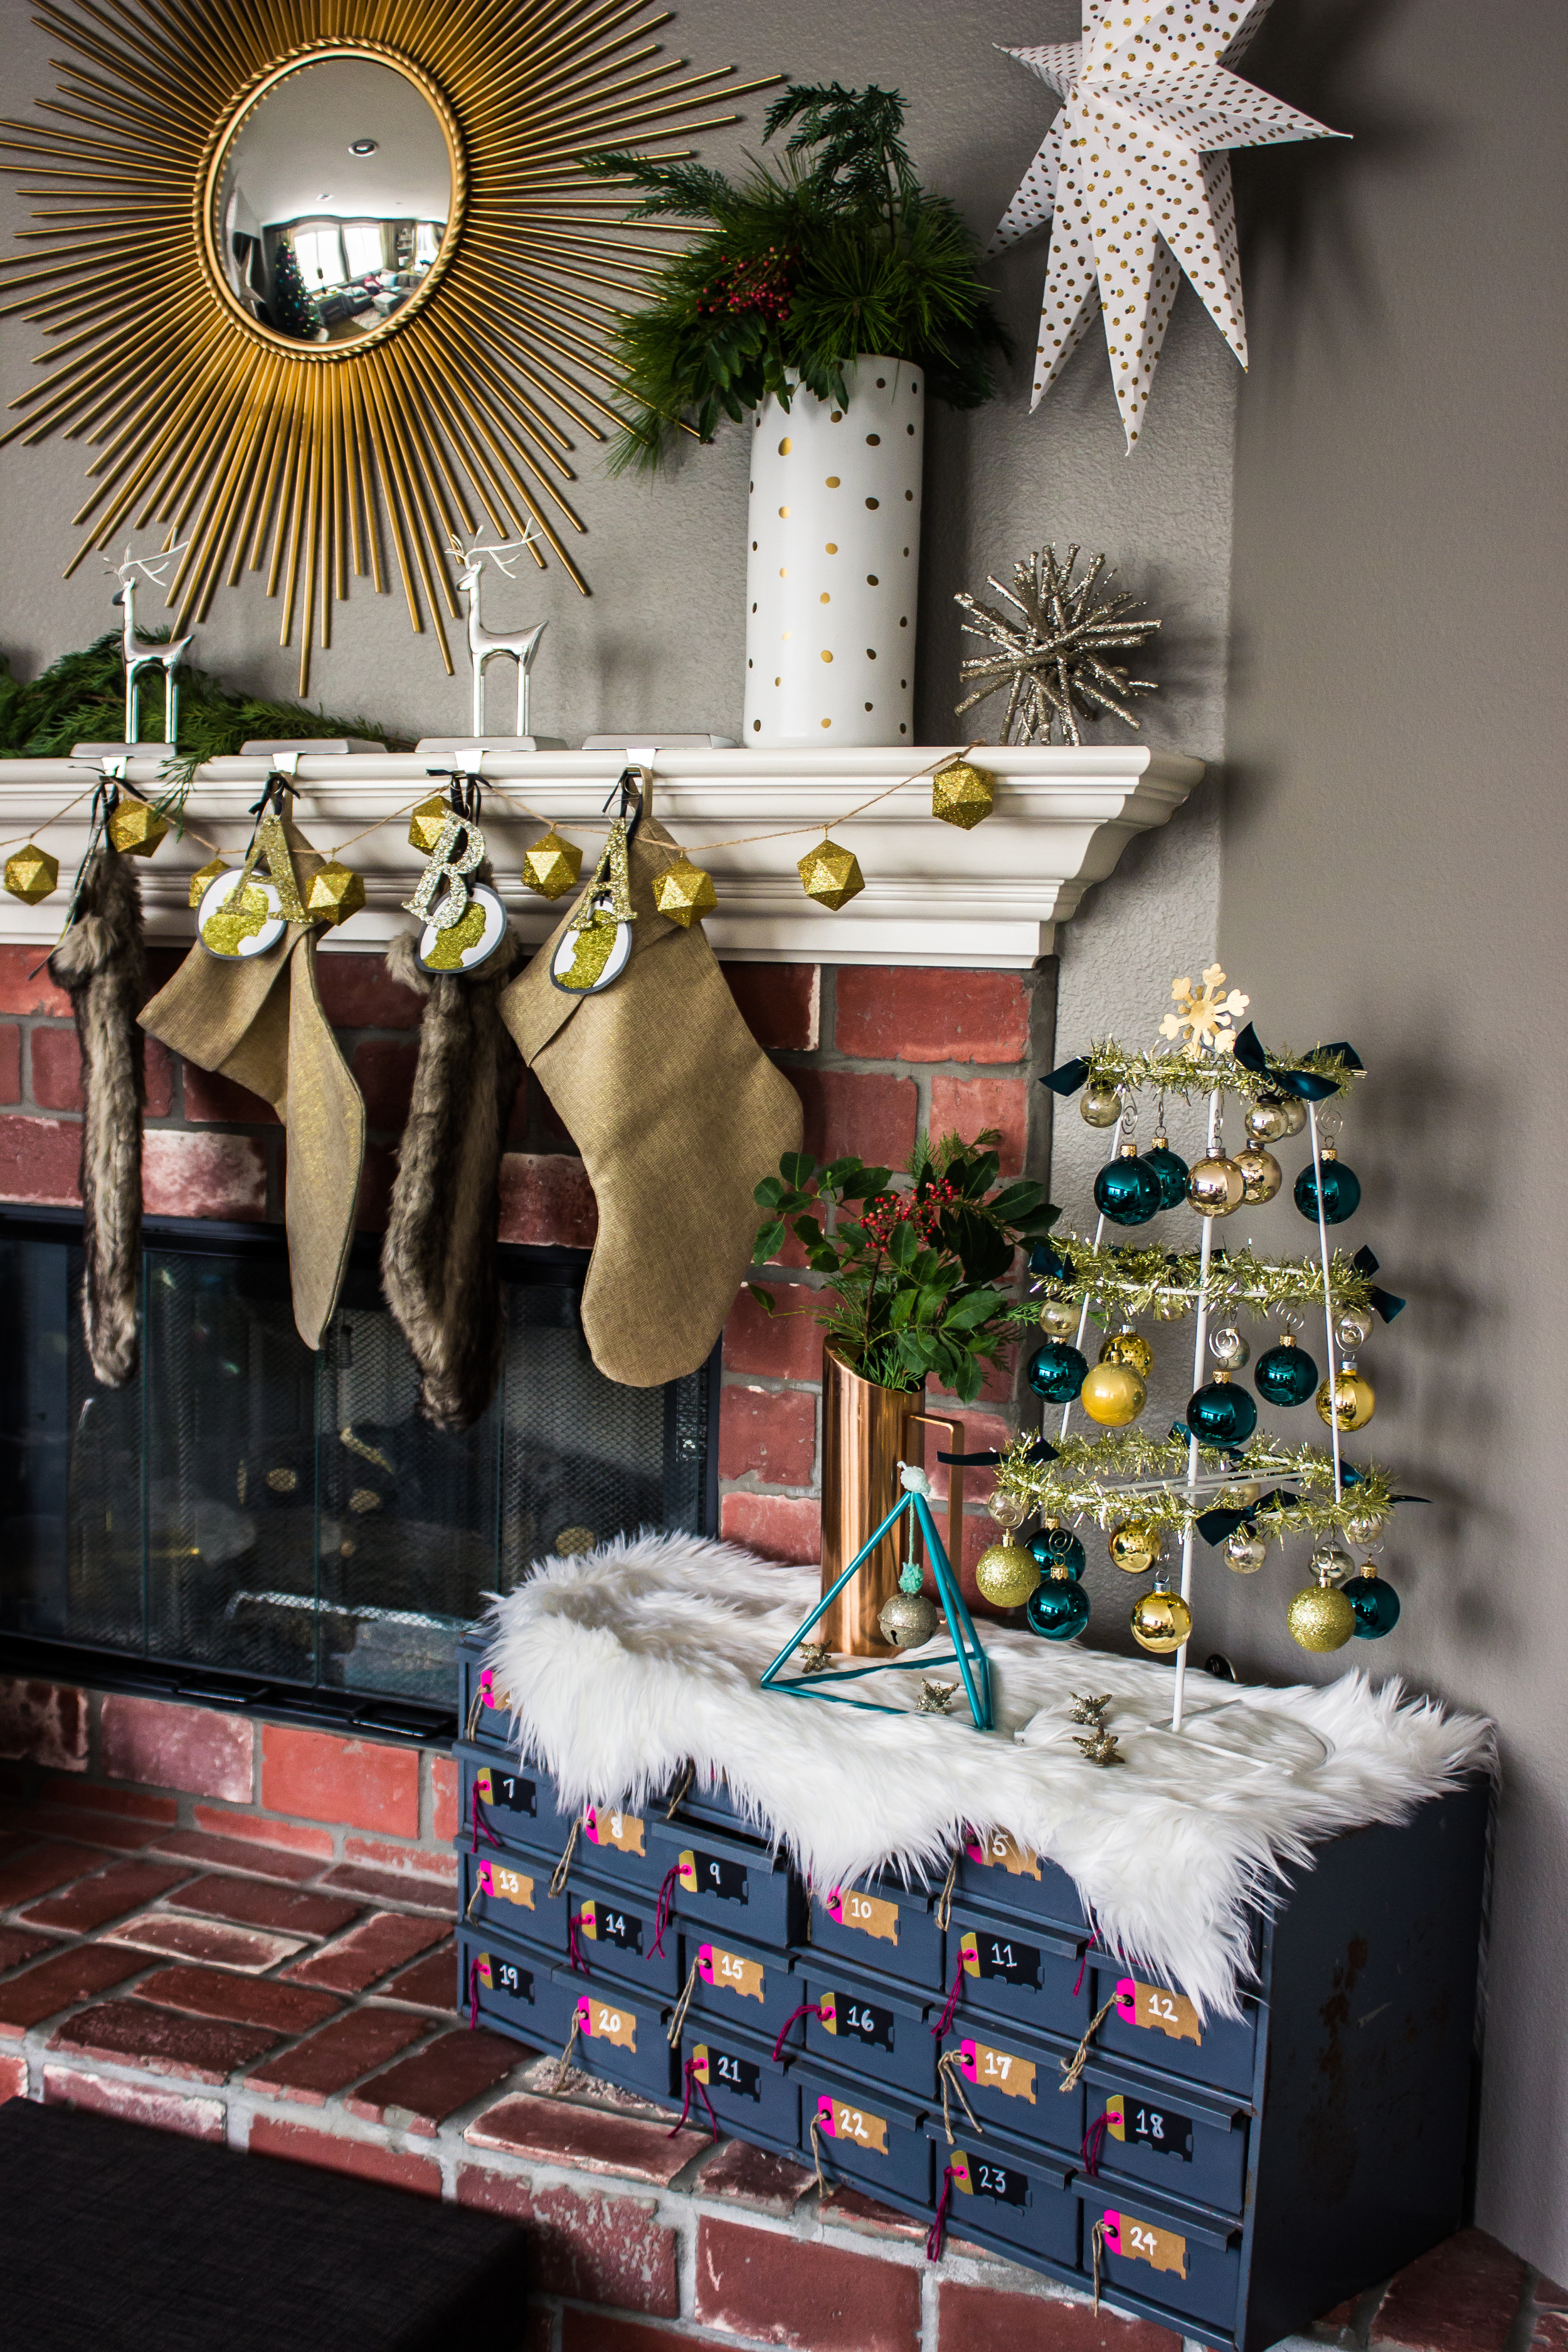
4. build your centerpiece, and keep it low. you could include fruits, nuts, succulents, candles, greenery, sticks, cylinder vases wrap with ribbon, wheat herb leaves, or burlap and candles in them.

5. create your first table setting (see our instructions here).

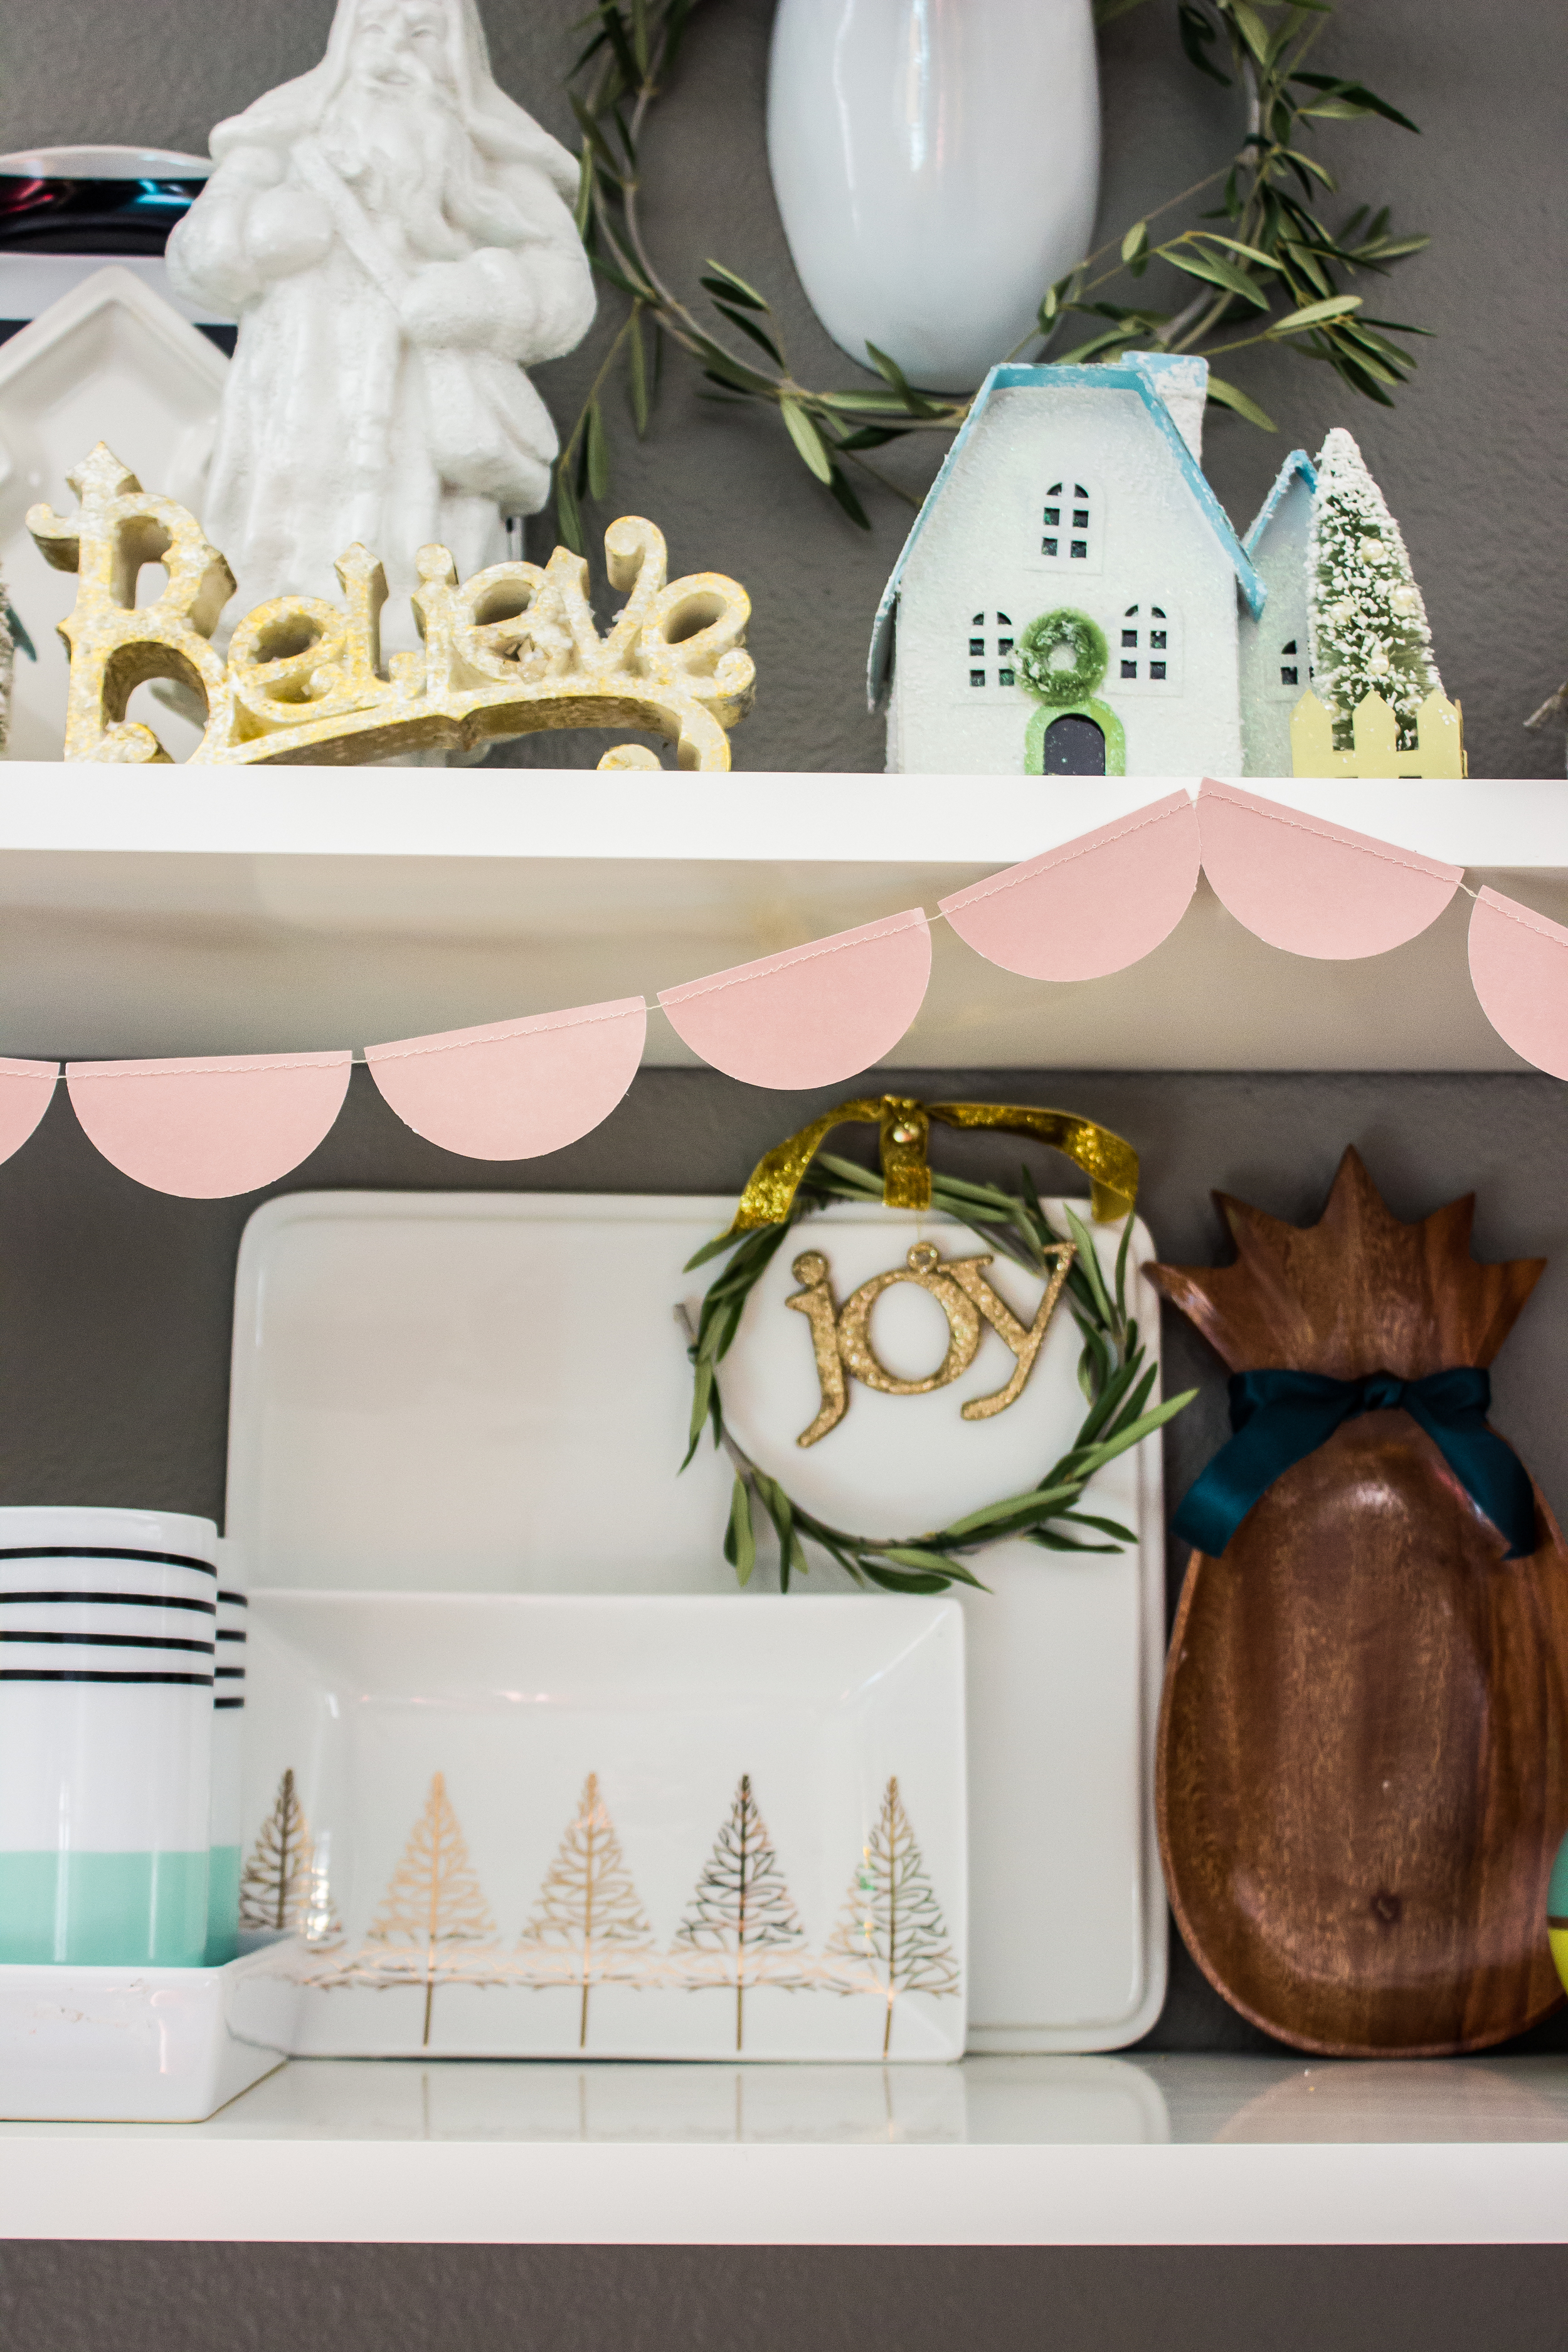
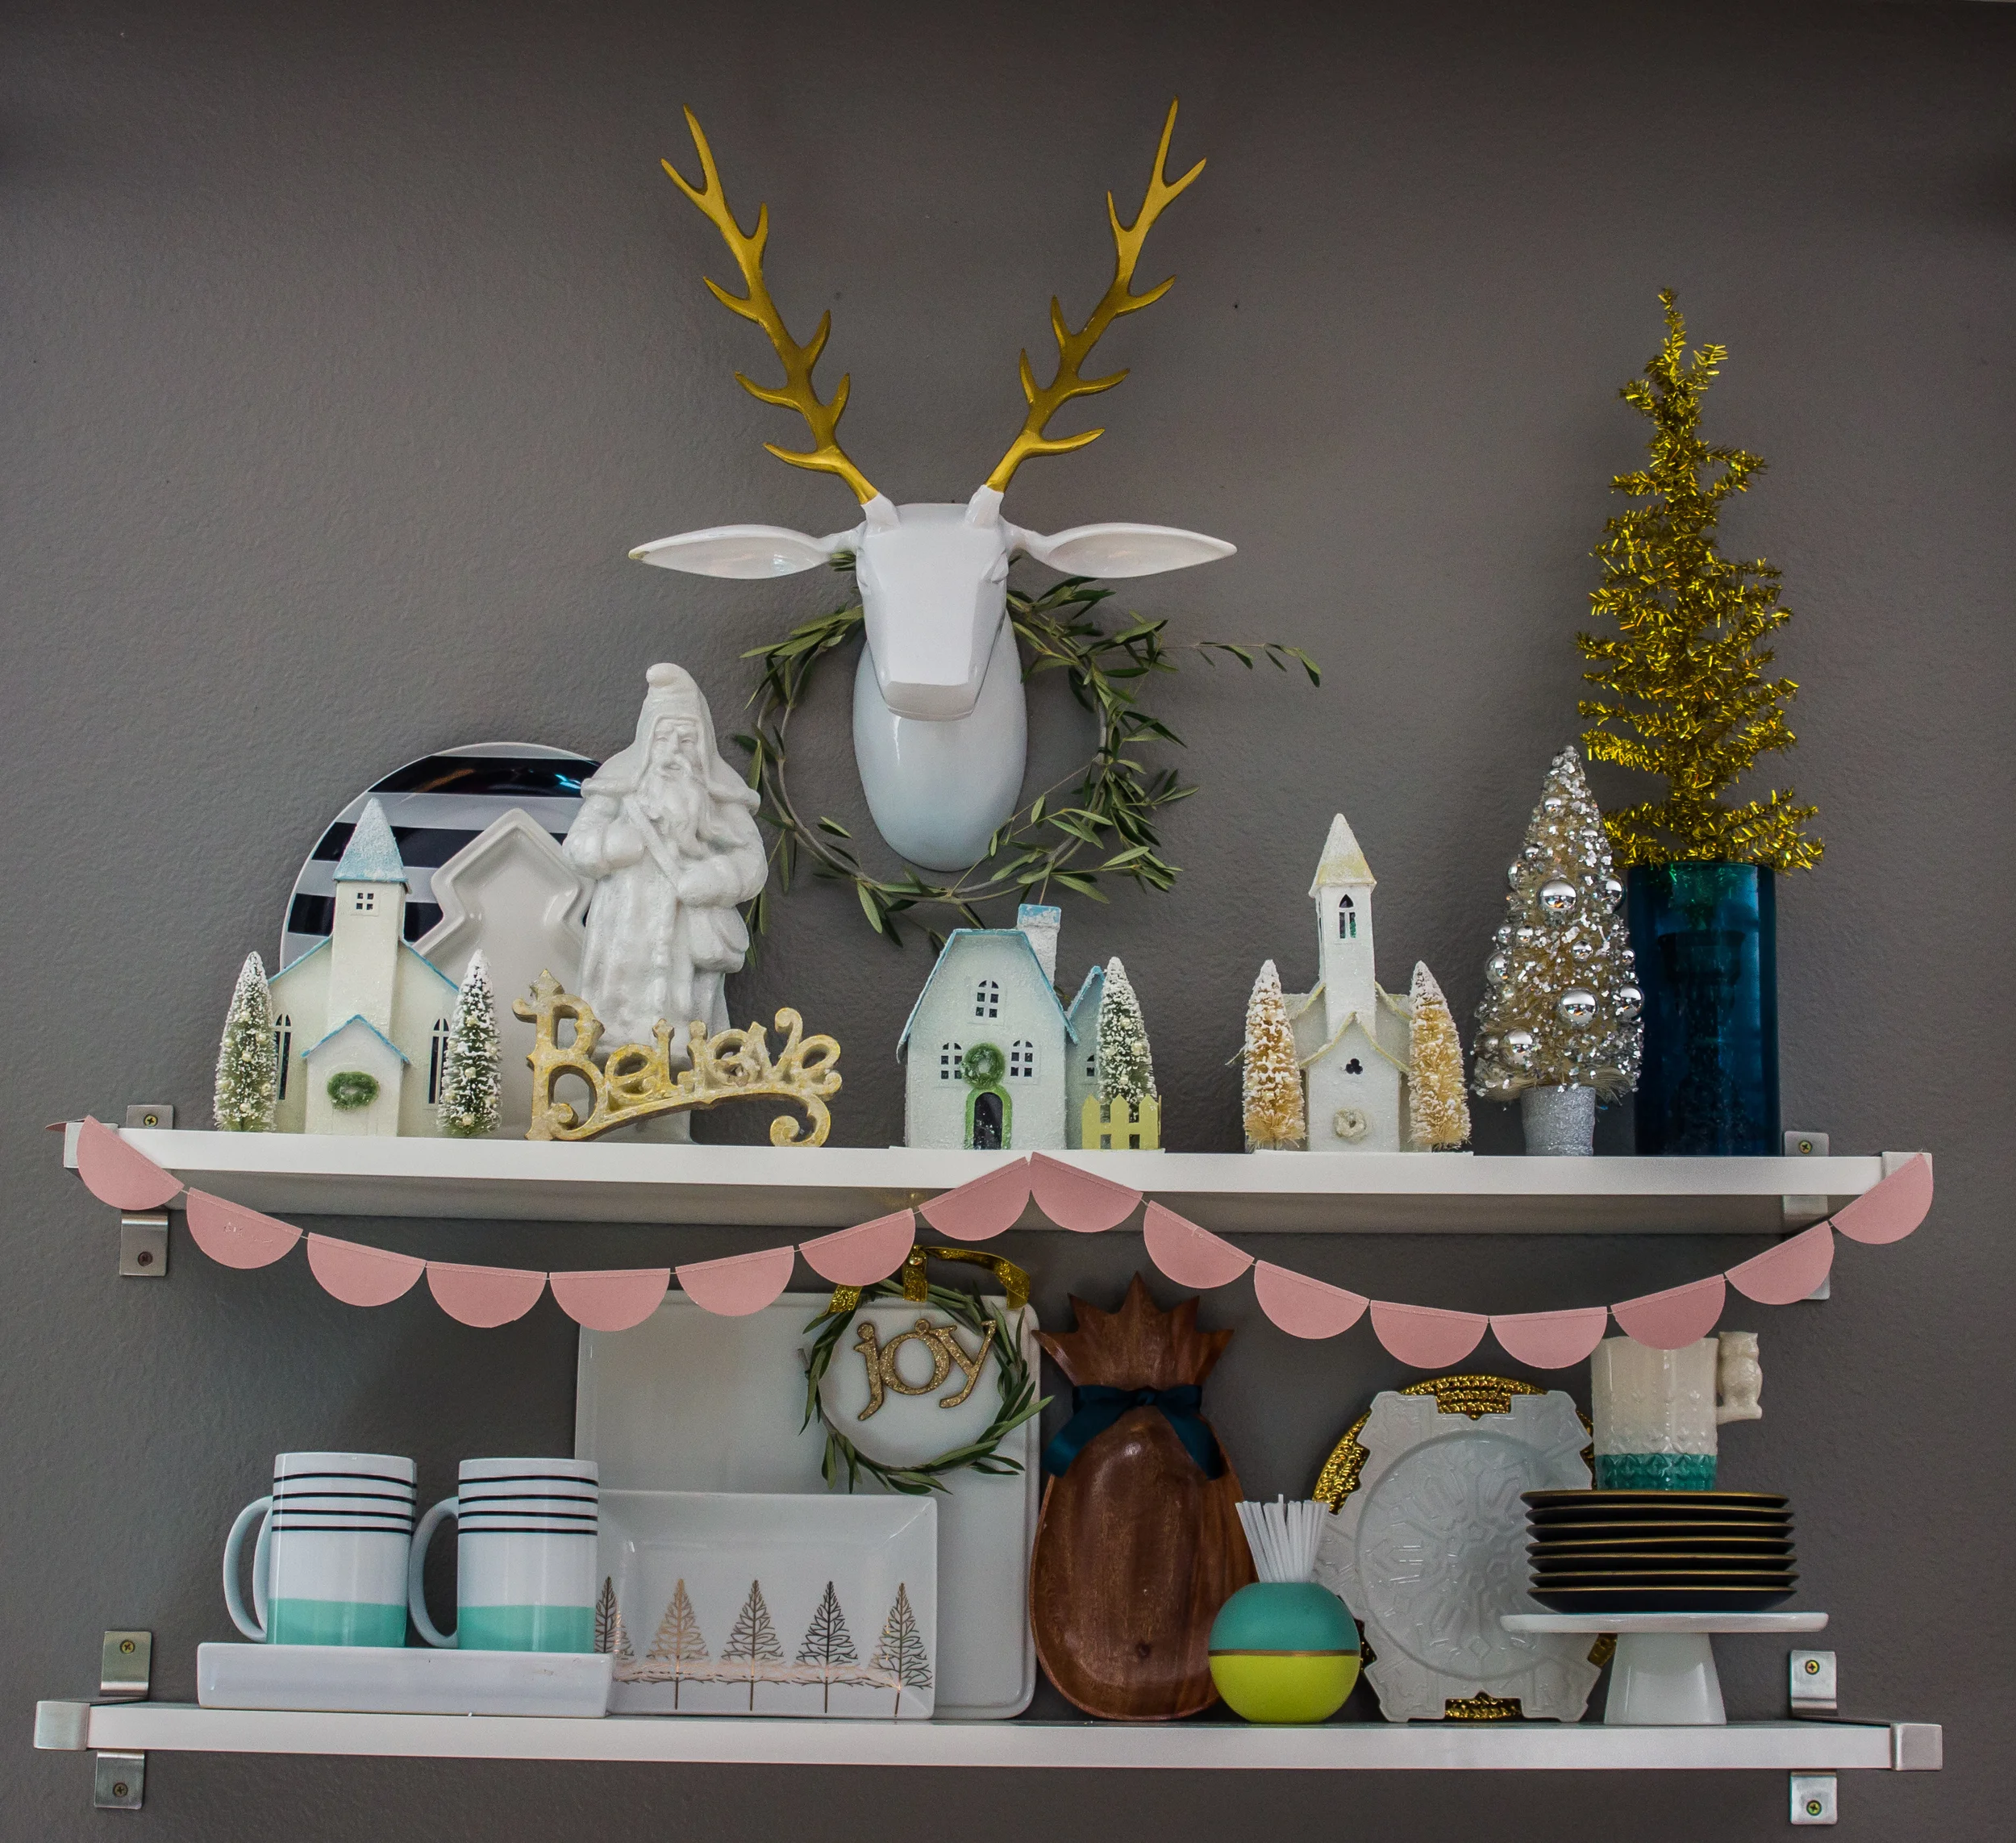
6. mix things up. everything doesn't have to be matchy-matchy-green-squared.

7. add flowers. no table is complete without flowers- add them to your centerpiece and even your individual settings.

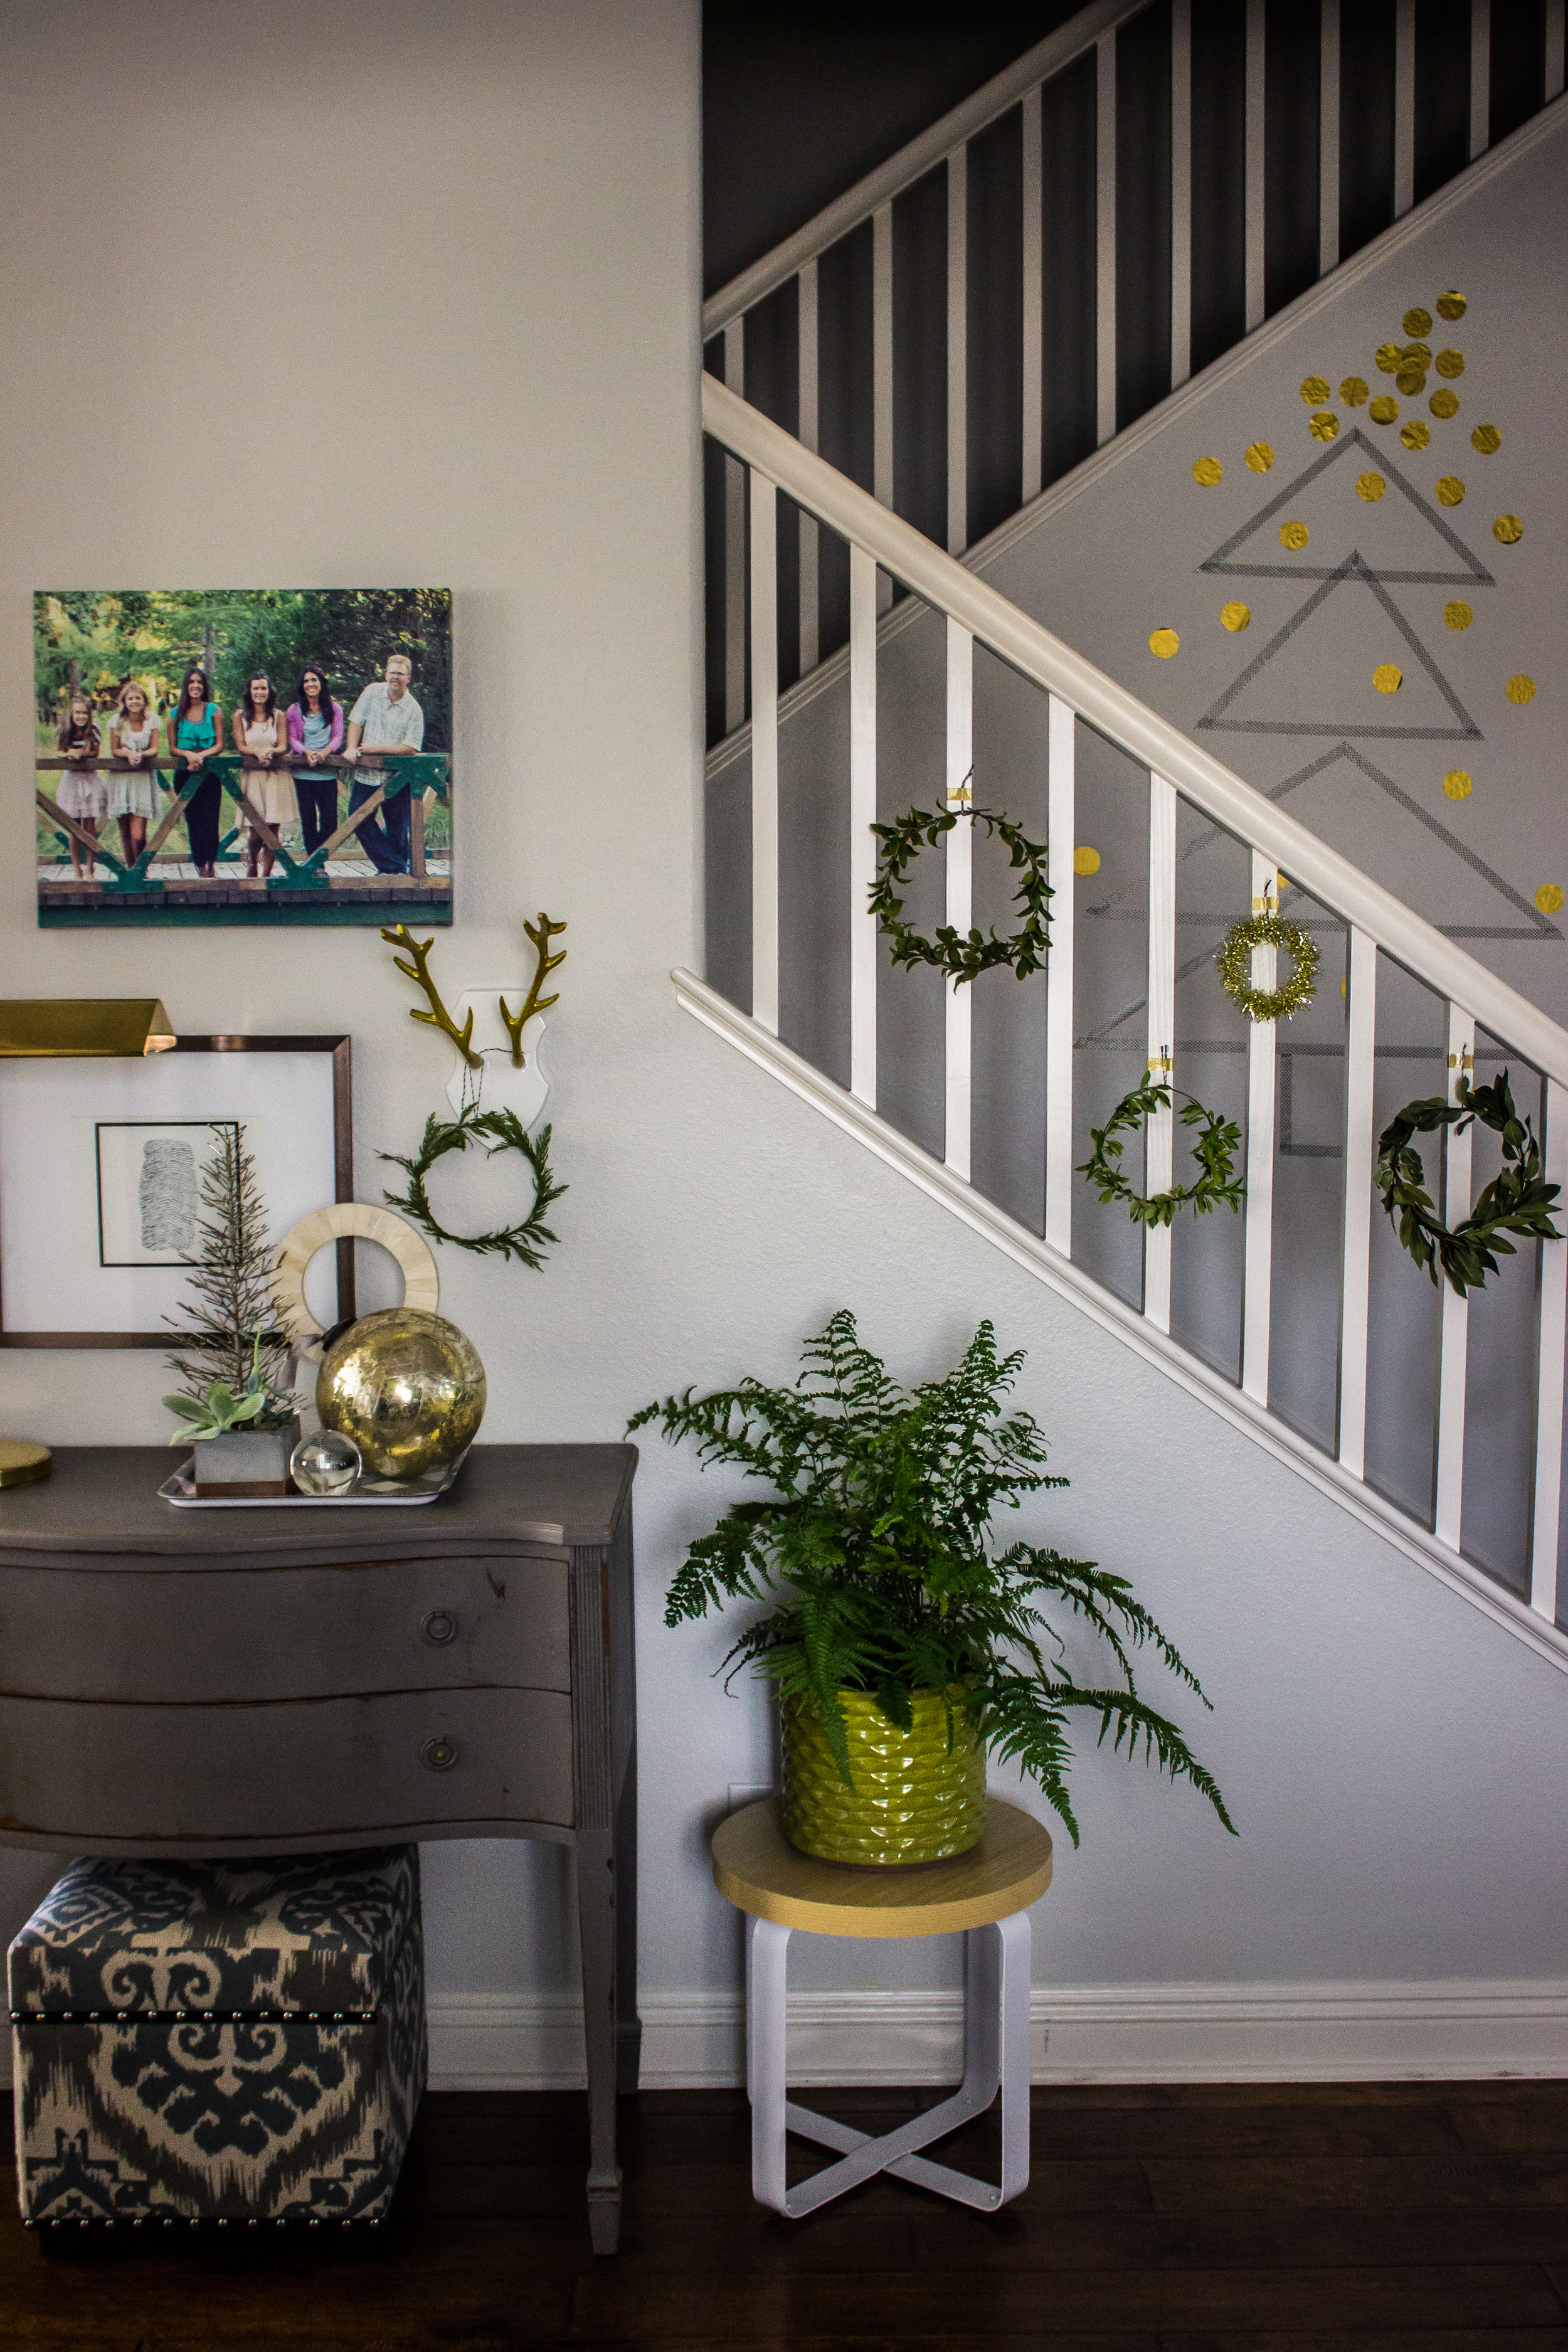
8. layer in glassware.

9. get creative. you can add to anything on your table, or even decorate your chairs with wreaths, ribbons ornaments. don't be afraid to view things differently- you can pull something off the wall to use as your centerpiece, use dishtowels as napkins, wrap your silverware in a thousand different ways. once everything comes together, no one will second-guess you.

chartreuse-red-and-blue.jpg

cheery table setting

this is my favorite table setting of today's post. not only does it have the best colors (which i think should be everyone's christmas palette), but also the cutest place card. for this table, bobette chose to forego the tablecloth and just use her chartreuse runners. the centerpiece is a glass vase with succlents. we wrapped the plates with a red ribbon and put her festive napkin underneath. we added a sprig of rosemary to her place card- and a gift for our guests to take home. who wouldn't want that 'we wish you a merry christmas' sign? the glassware is a vintage goblet.

royal table setting

i love the color palette of this one- that rich purple makes it fit for a king. for the centerpiece, bobette used a little reindeer platter with glittered pears. she used her gold chargers and black and white damask plates. she wrapped her napkin with a sprig of rosemary as her place card. 

red-chevron.jpg
get-your-jingle-on.jpg

merry table setting

this table setting uses the more traditional red and green palette, but we've updated it a bit. that red chevron table cloth is actually a rug (we cleaned it, we promise). we did another succulent centerpiece and leaned our mini holiday sign up on it. we used a simple white plate with a red glass one. again, we used the napkin as the place card holder, but wrapped it in red pom-pom ribbon and used our mini chalkboard signs. oh, and we were dying over the addition of the magnolia leaf- it really pulls the whole thing together.

christmas / last year's holiday decor

i got my camera for christmas last year and immediately started snapping photos, while reading the manual and trying to figure out all of the cool things i could do with it. i laid on the couch and took about 20 different pictures of the mantle just so i could see how each setting changed what the picture looked like. it was super fun, but they are definitely not the greatest pictures i've ever taken (hopefully i've improved over the past year!). i still want to share them with you because i think bobette did/does such a good job of decorating the house every christmas. she decks the halls like it's nobody's business. here are a few parts of the house that i have pictures of:

first up, the mantle. i think our brick fireplace screams christmas, so it didn't need much. bobette went with simple stockings and adorned them with the first letters of our names, and glitter silhouettes of our faces. yes, she made little glitter silhouettes of each of us. if that doesn't impress you i don't know what will. she added a few modern christmas trees and reindeer, along with some evergreen garland. near the fireplace are two smaller 'christmas trees'- one made of a pretty branch, and one that had christmas cards from our friends hung on it. on the other side she had two large lanterns filled with birds and moss.

i know, that's a really crappy picture of the tree and it doesn't even show the cute presents wrapped underneath. this was post-christmas morning so all of those wrappings had been torn to pieces, wrestled in, and then thrown away. such is life. last year the tree had silver and blue ornaments with pink bows mixed in. and a crown as the tree topper. fitting for a family with 5 girls who all think they are princesses. i did get a few shots of some of the cutest ornaments, as i was playing with my macro settings.

these are the only other two places of the house that i got to photograph, though there was so much more going on. the first picture shows our 'hot chocolate station,' with all of the fixings to make delicious hot chocolate at any time of day. the second shows the mini-christmas tree collection which have been used in many ways over the years. they started out in each of our rooms- we each got our own mini tree decorated with things that fit our personalities (mine had an eiffel tower, cateye glasses, pearls, etc). last year they were in a grouping in the living room, and had the cutest pink and blue ornaments.

be sure to look out for our post of this year's christmas decor!